Question 6
Make other artwork of your choice with a ruler and a compass.
- Geometric artwork can be created using a compass to draw circles and arcs, and a ruler to draw straight connecting lines.
- A circle's radius divides its circumference into exactly equal parts, allowing us to construct a symmetrical -petal geometric flower pattern.
Step 1 · Draw the Main Circle
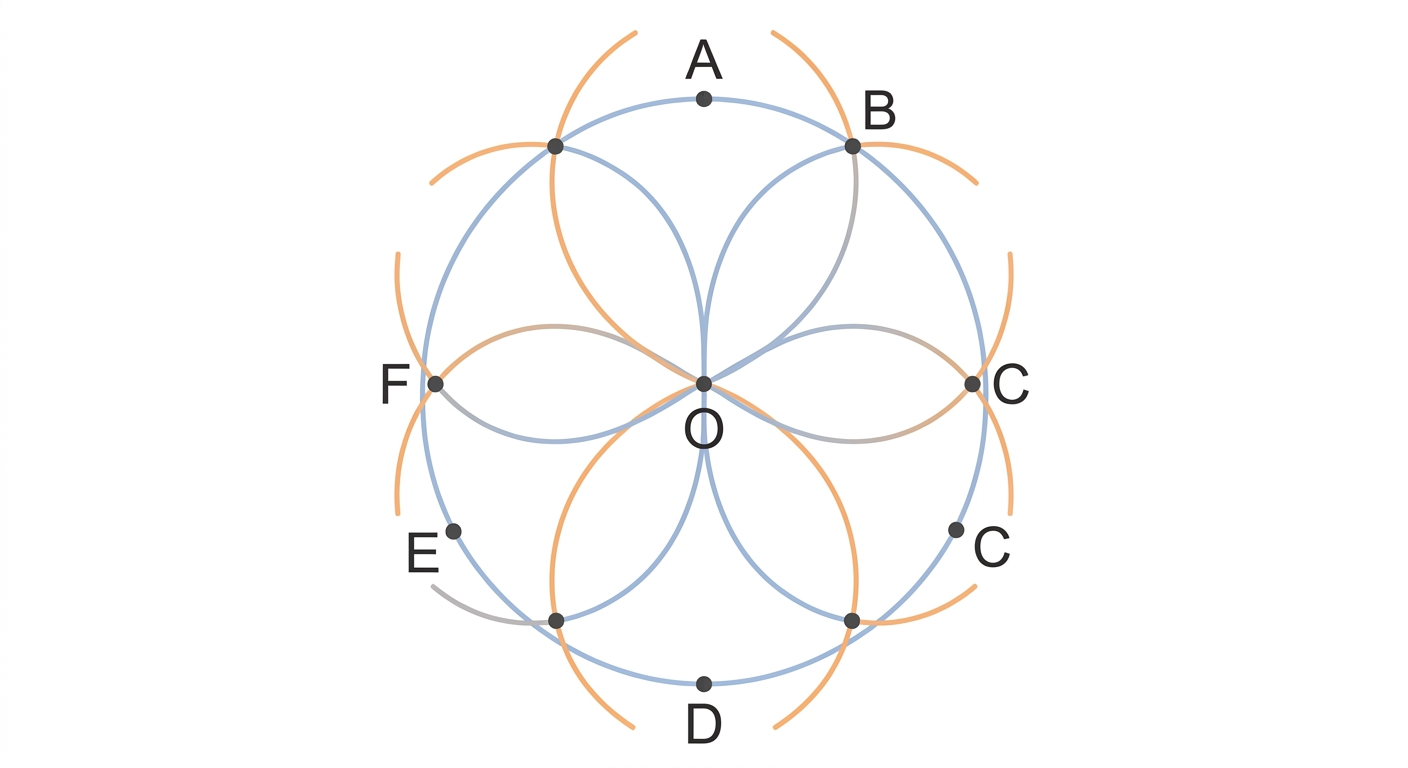
- Set the compass opening to .
- Place the compass point at center and draw a complete circle.
Step 2 · Mark Six Points on the Circumference
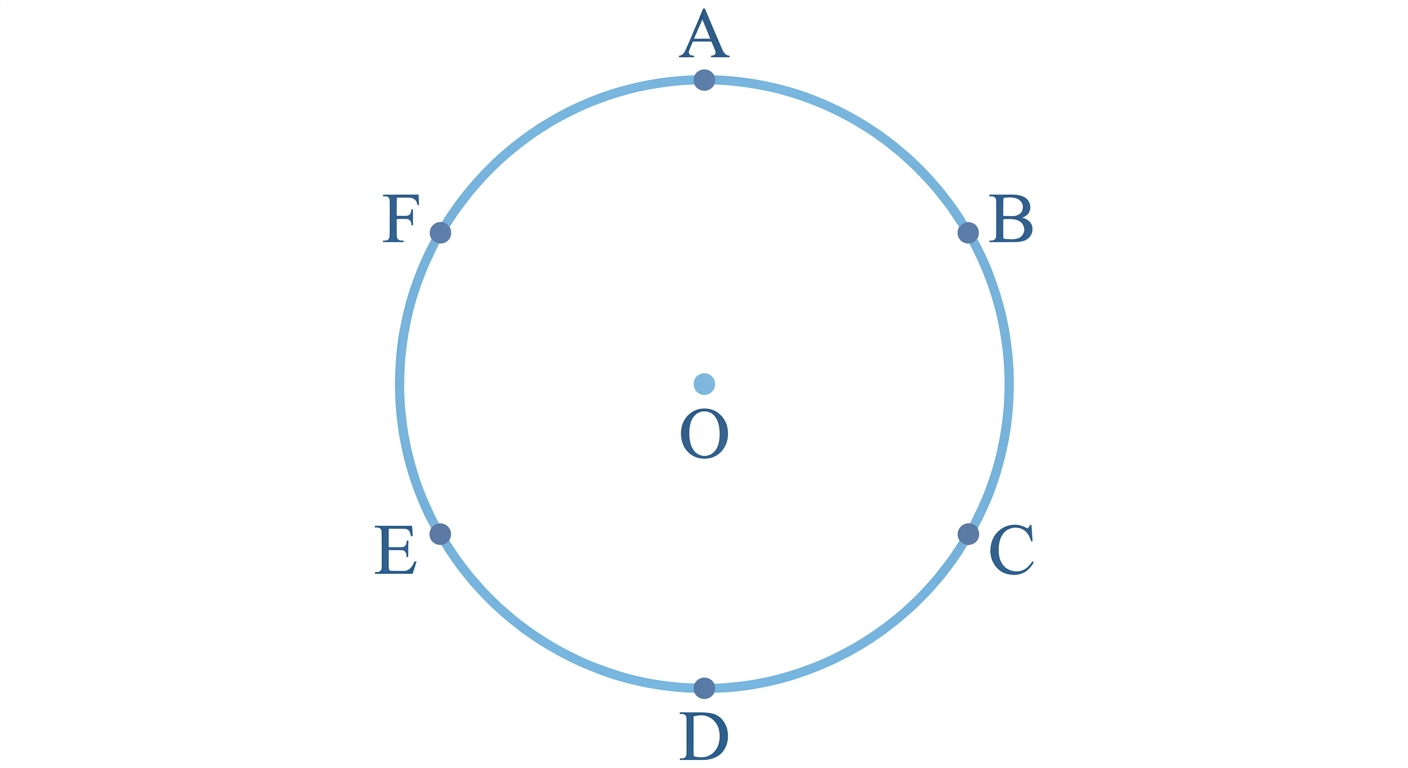
- Keeping the compass radius at , place the compass pointer on any point on the circle.
- Draw a small arc intersecting the circle.
- Move the pointer to this new intersection point and mark the next arc.
- Repeat around the circle to create equally spaced marks.
Step 3 · Draw the Flower Petals
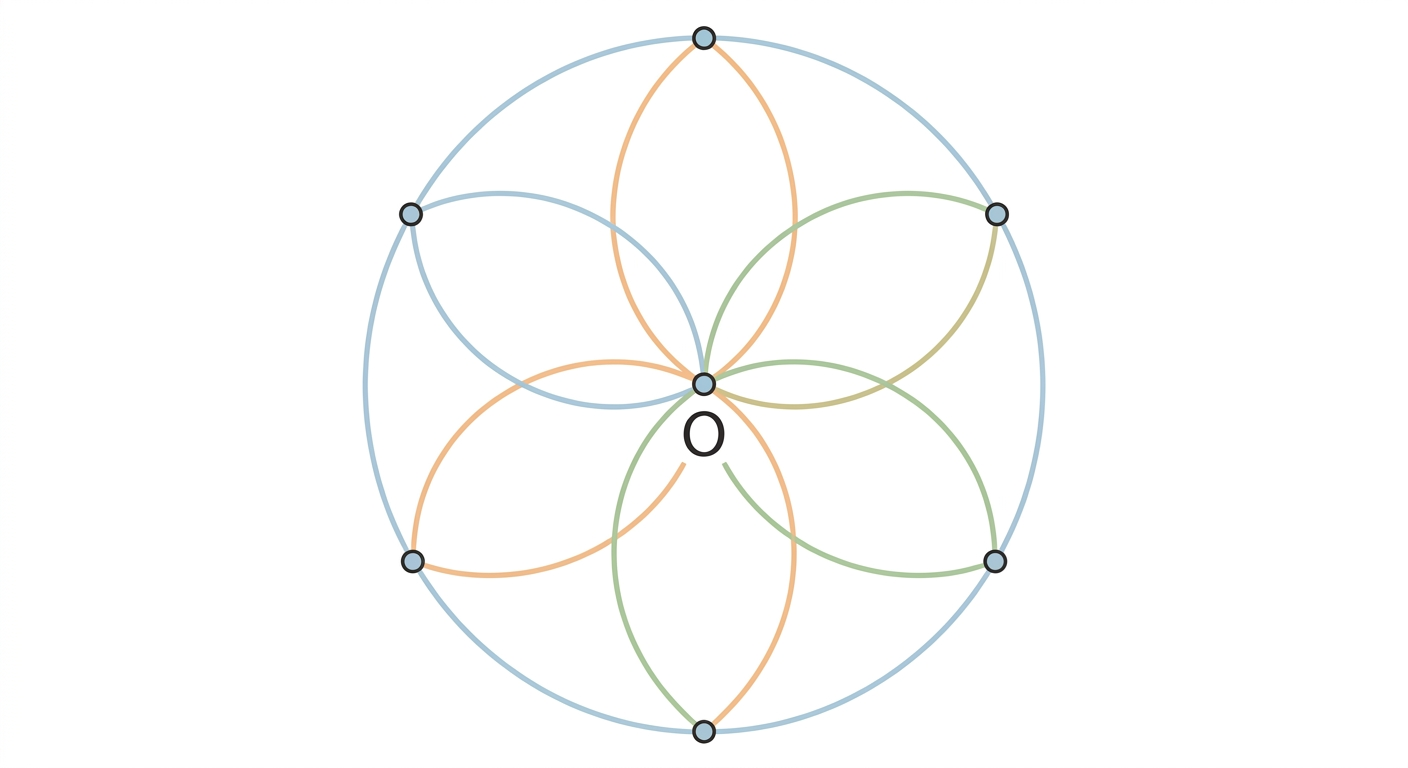
- Keep the compass opening at .
- Place the compass point at each of the marks one by one and draw a circle from each.
- The overlapping arcs inside the central circle form a -petal flower pattern.
Step 4 · Add an Inner Center Circle
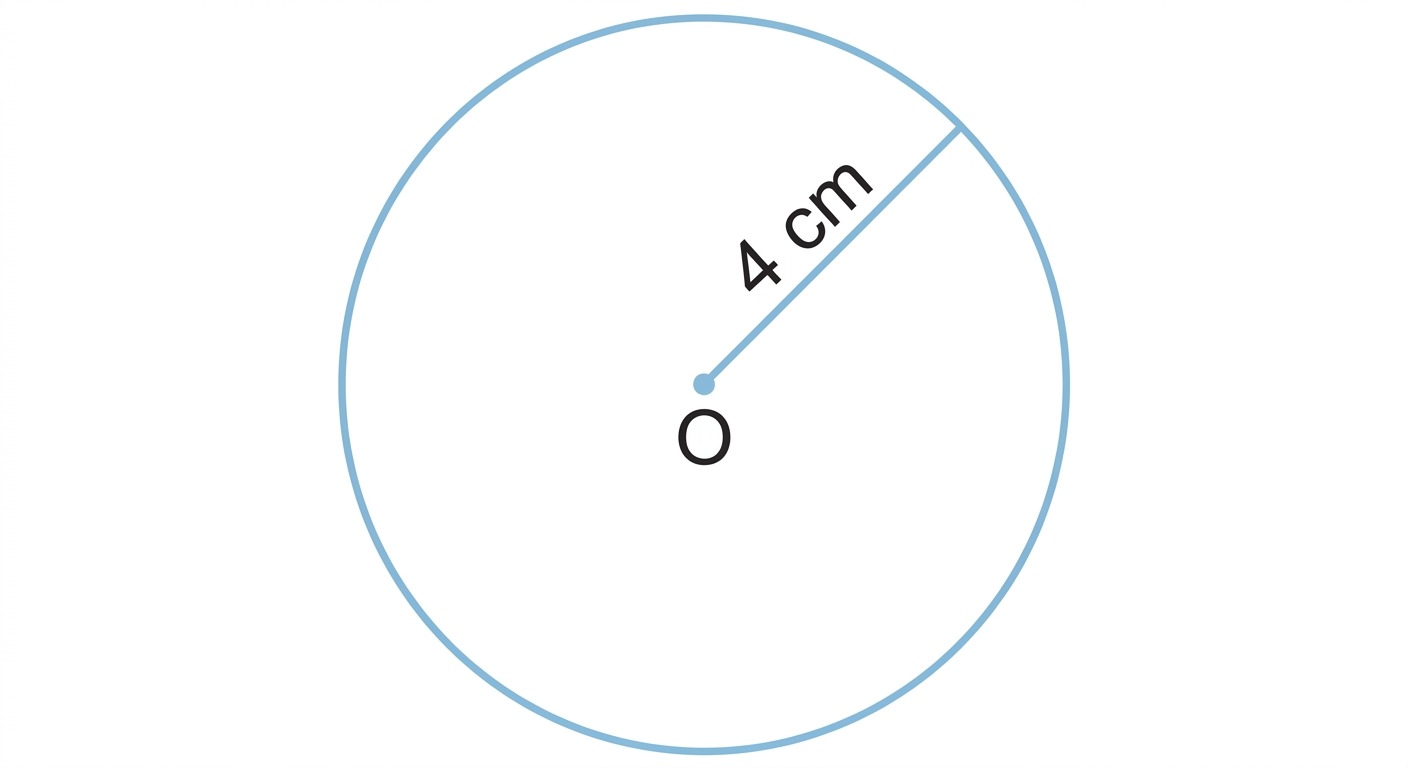
- Adjust the compass to a smaller radius of .
- Place the compass pointer at the center and draw a small inner circle.
Step 5 · Draw Connecting Lines with a Ruler
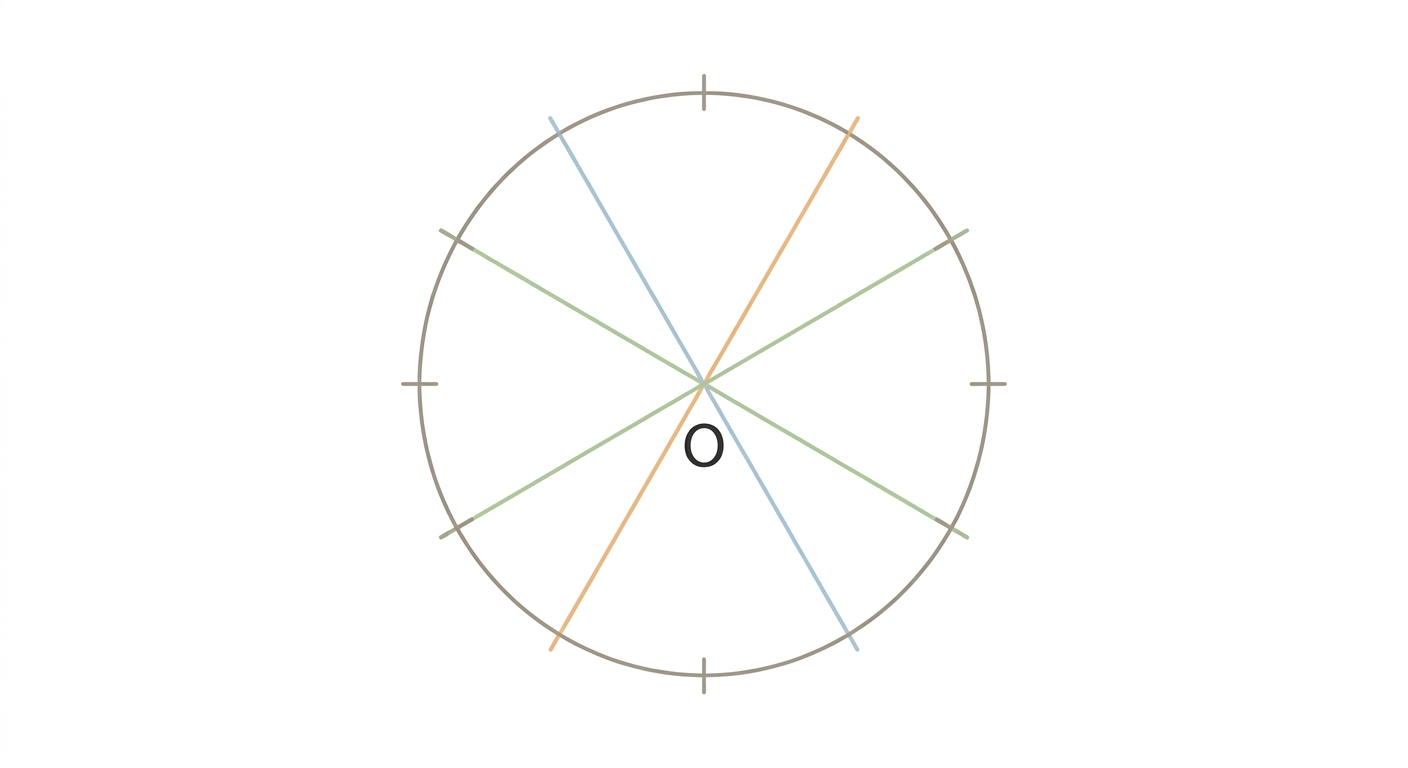
- Using a ruler, draw straight line segments connecting opposite pairs among the points on the circle.
- Drawing all lines creates a star-like structure inside the design.
Step 6 · Finish and Shade the Artwork
- Shade alternate petals with a pencil to give the artwork depth and contrast.
- Outline the primary shapes with a fine pen to complete the design.
Geometric Flower Pattern created using a ruler and a compass.
- Changing Compass Radius: If the compass width shifts while marking the points in Step 2, the arcs will not divide the circle evenly into parts.
- Slipping Center Point: Ensure the compass needle stays firmly placed on the marked points to prevent misaligned petals.
More questions in A
Observe the following figures and try drawing them freehand.
Mark a point in your notebook. Then, mark as many points as possible, in different directions, that are away from .
Think: Imagine marking all the points of distance from the point . How would they look?
Try to draw it and verify if it is correct by taking some points on the curve and checking if their distances from are indeed . Explore, if you have not already done so, and see if a compass can be used for this purpose.
You can start by marking a few points of distance from using the compass. How can this be done?
Having explored the use of a compass, go ahead and recreate the images in Fig. 8.1. Can you make the figures look as good as the figures shown there? Try again if you want to!
Also, has the use of instruments made the construction easier?
Construct
1. A Person
How will you draw this?
2. Wavy Wave
Construct this.
Make other artwork of your choice with a ruler and a compass.
Explore
How should the rectangle be constructed so that the diagonal divides the opposite angles into equal parts?
How will you record your observations? First, identify the parameters that need to be tracked. They are the sides of the rectangle and the 8 angles formed by the two diagonals. Are there any other measurements that you would want to keep track of?
In your experimentation, did you consider the case when all four sides of the rectangle are equal? That is, did you consider the case of a square? See what happens in this special case!
Math Talk
What general laws did you observe with respect to the angles and sides? Try to frame and discuss them with your classmates.
How can one be sure if the laws that you have observed will always be true?